Robert Shenton
Programmer, writer, game developer
Programmer, writer, game developer
With this one quick and simple lighting trick you can make your scenes feel far more dynamic
Hey everyone, I've been continuing in my journey to master Blender, attempting a new render every 2 weeks or so, and this week I found a technique that I really liked and wanted to share.
In the theatre world, the actors are often lit on stage by bright, powerful lights. This is so you can see their faces (and performance) clearly. Occasionally, however, the director might want the actor to be obscured by a shadow of some kind. Perhaps a tree, or fence, or something else entirely. Often, it is not practical to bring an entire tree into the theatre and plonk it down in front of the light.
Enter "gobos", a metal disc with a pattern cut out of it which, when placed in front of the light, casts a certain shadow onto the stage (and everything on the stage too).
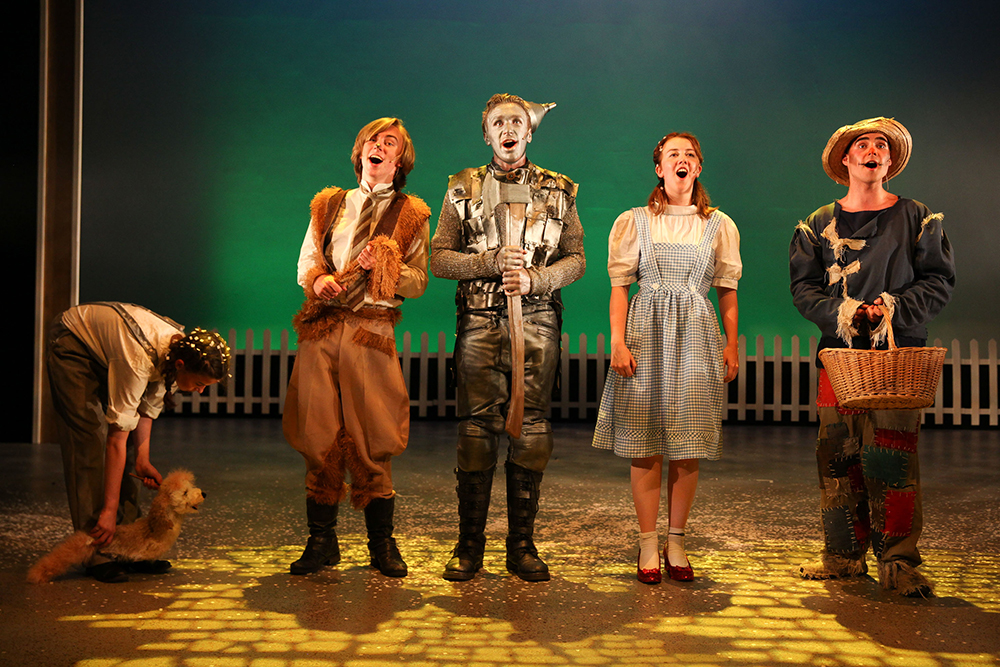 A gobo has been employed here to produce the effect of the yellow brick road (lol @ the dog)
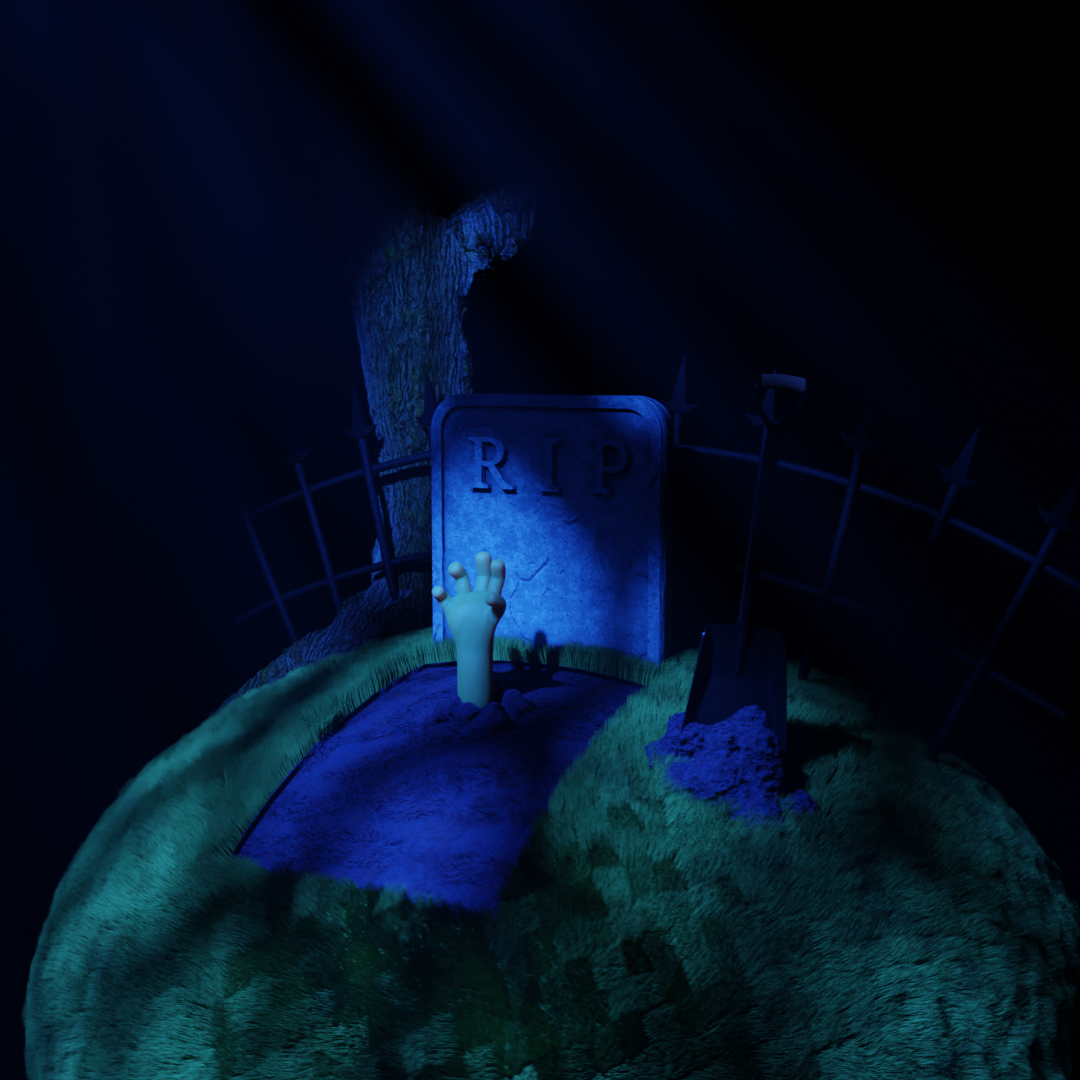
The same trick can be applied in Blender. Take for example this living dead scene I made for Halloween, with a hand sticking out of a freshly dug grave. I set up a strong blue spotlight to emulate the moonlight shining down upon the scene.
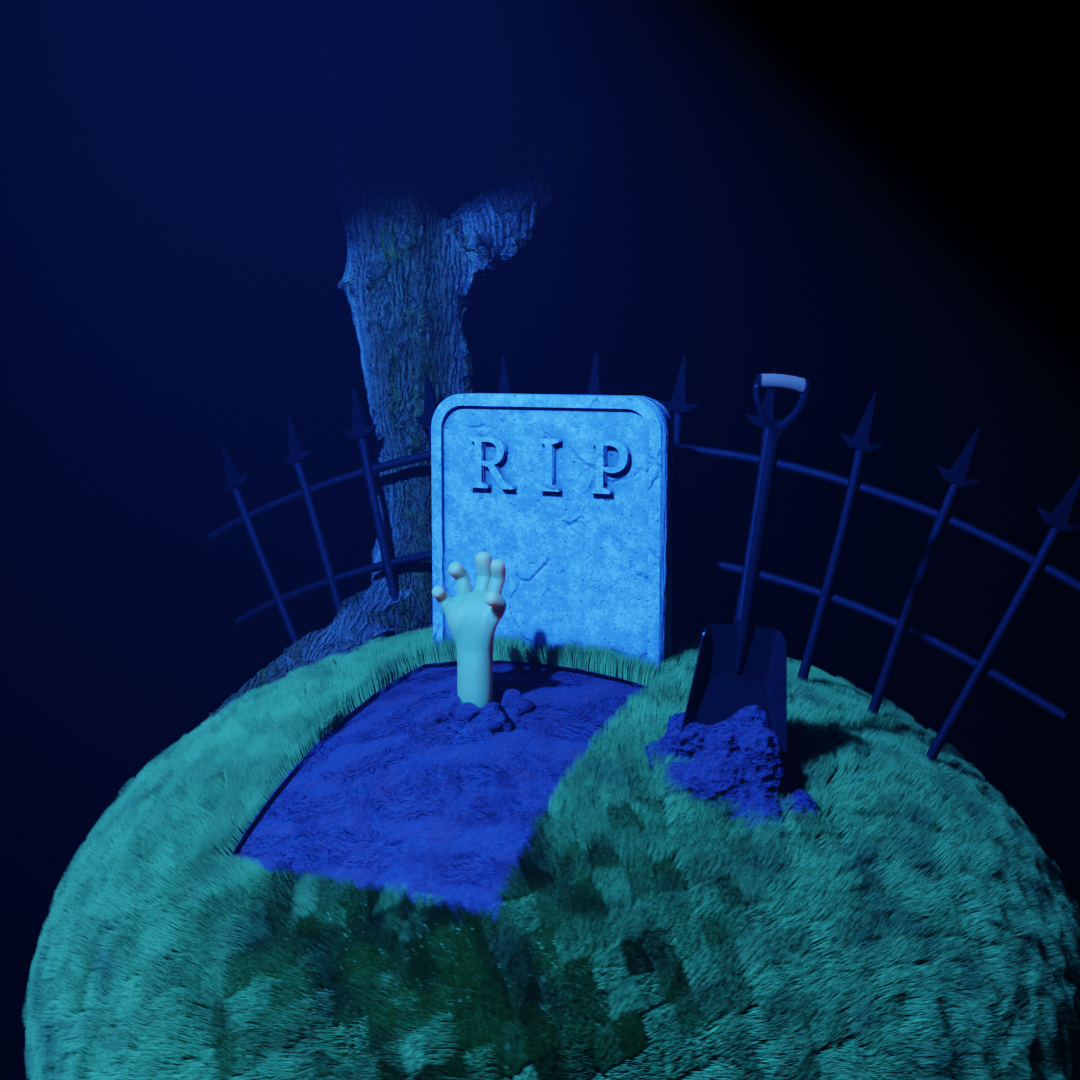 Graveyard scene without the gobo
This is fine on its own, but what if I want the moonlight to be shining through the branches of that tree you can see in the background? I could model the entire tree, branches and all, but that's a lot of wasted time and effort for something that won't even be included in the final render.
Instead, I found this tree branch stencil online and set it up as a gobo in front of my light.
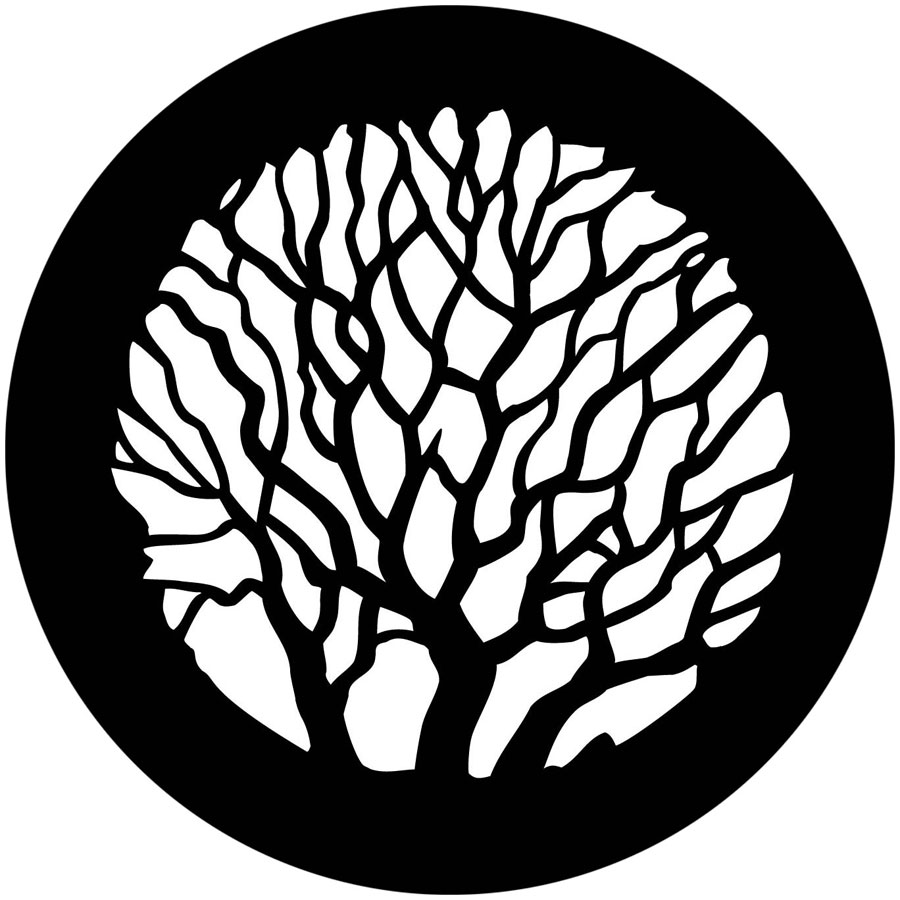
You can find all sorts of gobos with just a simple Google search.
Here's how I set it up:
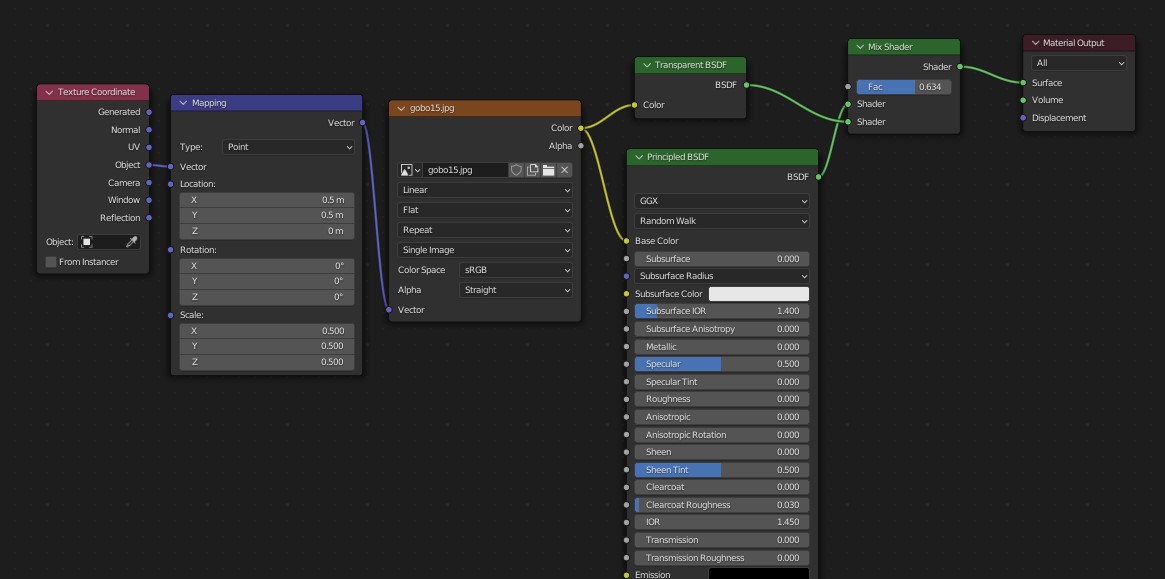 Material node setup
You need the transparent shader to allow the light to shine through, adjust the factor until you get something you like. You may also need to adjust the position and scale of your texture to fill the circle properly. (Check the Mapping node)
And that's it, really! Just position it in front of your light and voila!
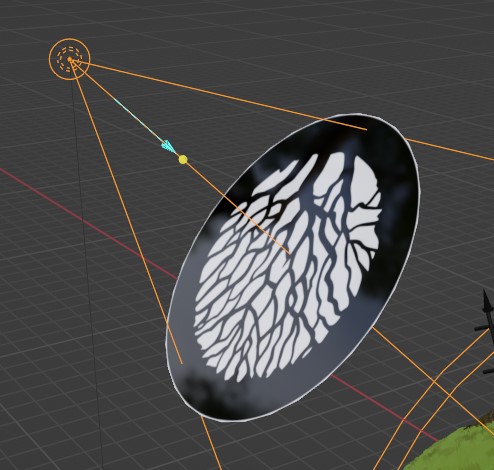
I rotated the gobo so that the branches appeared to be coming from the direction of the tree in my scene. If you want to rotate yours, you can do so by adjusting the Z rotation value on the material Mapping node.
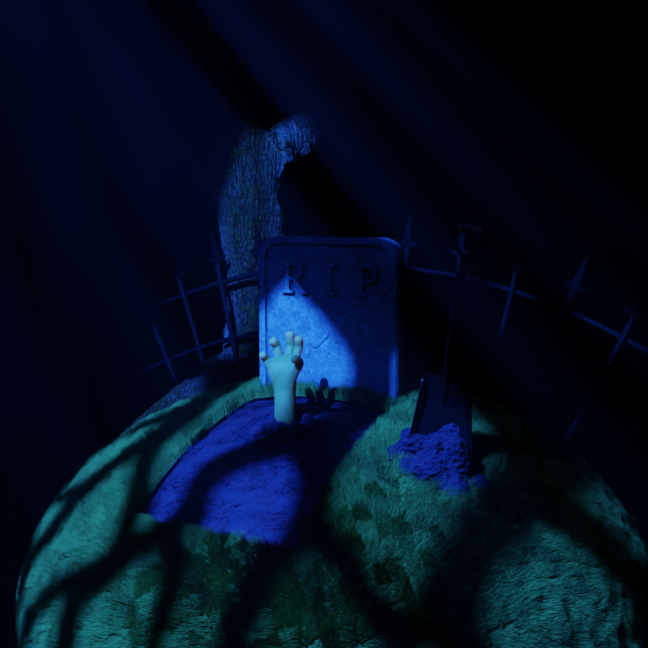
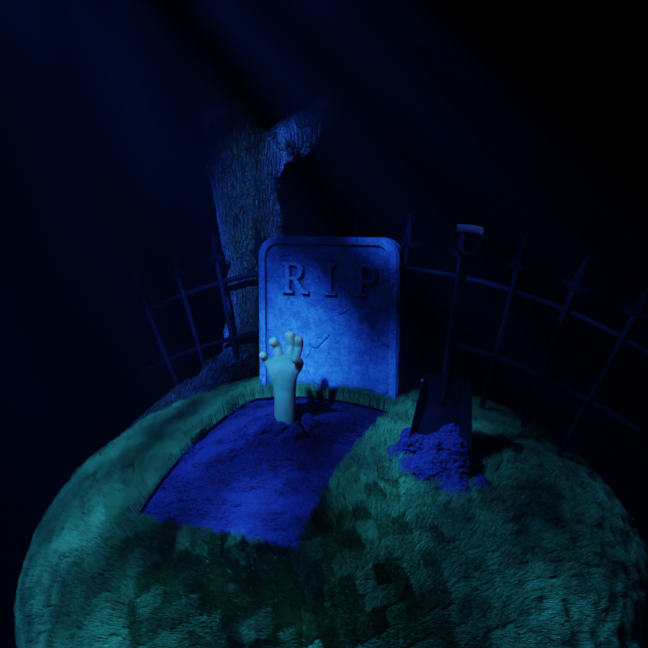
 Graveyard scene with the gobo (very moody!)
Can you see the difference it makes? It's like night and day! (Excuse the pun)
You can further adjust the softness of the shadow by changing the radius of the light's bulb, like so:
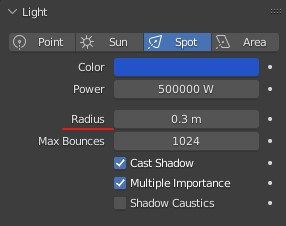
 Radius set to 0.1 - very sharp shadows
 Radius set to 0.4 - very soft shadows
There you have it! Please use this new knowledge responsibly.
PS. To get the light rays you see in these renders, you will need to set up some volumetric fog.
UPDATE: A few days after publishing this post, I found this great short tutorial on Twitter for using animated textures with your lights, if you want something a little more dynamic!
