Robert Shenton
Programmer, writer, game developer
Programmer, writer, game developer
I rendered something, y'all!
Man, I cannot believe it has been *checks watch* 10 months since I last wrote on my blog! Life has been moving swiftly along in the time that has passed and I've been keeping very busy with work and other life stuff, which means my site and Twitch stream that I started during the peak of lockdown last year have unfortunately fallen by the wayside. The truth is that I've had content that I could have written for this blog but actually just didn't think to do so. I do believe in following through with things I've started, so I'll try to be better about adding content.
Brief update out of the way, let's move onto the meat of this post. Something very exciting (for me at least) - I sat down and rendered my first animation in Blender!
So 2 weekends ago, late on Saturday night, I was sitting at my desk in the dull glow of my monitors browsing YouTube before bed (as I am wont to do) when something caught my eye... This guy I am subscribed to was hosting a 3D render challenge/competition. My interest was piqued.
The concept is simple: every entrant gets a box with two holes and a silver metallic ball comes in the one end and goes out the other. It is then up to the entrant to decide what happens to this ball while it is briefly in the box. At the end of the competition all the submissions would then be chained together to create one long 3D Rube Goldberg machine.

The guy in question is Clinton Jones aka Pwnisher. He is a VFX and 3D artist whose career I've been following on YouTube for around 10 years now and have always admired. Recently he left the company he worked for to focus his efforts back on his YouTube channel which had (like my site) been neglected for a little time. On his channel he posts breakdowns, tutorials and, more recently, these 3D rendering competitions that his audience can partake in.
The last one he did was called Alternate Realities in which the goal was to take a simple walk cycle and create your own scene around it. Some would say it was quite popular. The competition saw 2400 entries, which were compiled into one 2.5+ hour video. I had seen the final product but not the call for entries. Had I done so, I might have been inclined to enter. Needless to say, when I saw he was hosting another round I immediately sat up in my seat. (Thanks for fixing my posture, Clint!)
I've been learning to use Blender in my spare time to make 3D models for my games, but I had never used it to render anything. After a brief moment of consideration (should I be taking more things on right now?), I was in! Sleep would have to wait.
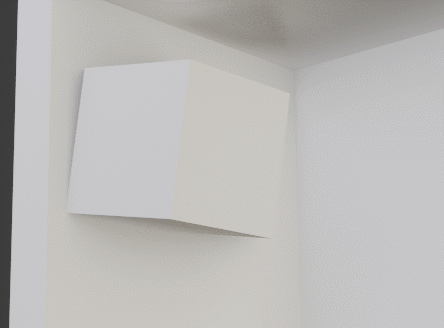
I downloaded the provided Blender file and opened it up. It was pretty basic, just a box and a ball.

Having never attempted anything with physics before in Blender, it took me a good while to figure out. If you're new to Blender, you'll know what I'm talking about. Just finding your way around the many panels is a challenge unto itself. When I eventually found what I was looking for, I added a cube and placed it under the ball. I ran the simulation. The ball went right through the cube. Damn.
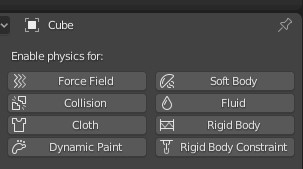
I searched through more panels and found out how to add a rigid body to the cube so that it interacted with the physics simulation.
I ran it again and this time the cube and the ball fell together.
Hmm, that's not what I wanted... Ah! I had to set the cube to be a passive rigid body. This way, it would still collide with other objects but wouldn't be affected by gravity.
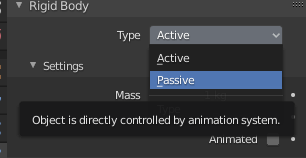
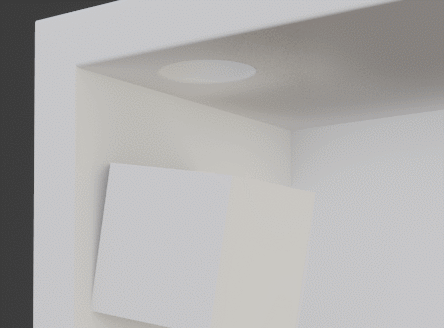
I ran the simulation again and still the ball went through the cube. What was I missing? I tried more combinations of these physics bodies but nothing seemed to work. A frustrating series of trail and error.
Then I discovered how to clear a baked physics simulation. Turns out the old simulation of the ball falling straight down was cached in memory. One click of a button and hey presto! - The ball was finally bouncing off my cube.
Now that I had the physics figured out, it was time to design my contraption
Seeing as my modeling skills aren't that great (read: non-existant) I decided to go with something you might call simple. Keep in mind we're talking about 3D modeling here. My fashion modeling skills are quite excellent.
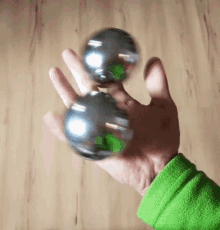
 Blue steel
I chose to make 8 plates that would each play a single note in a chromatic scale and light up when the ball hit it. The plates were dead simple to make, but lining them up in such a way that the ball bounced on each in sequence proved to be a little more tricky.
I spent a solid couple of hours positioning the plates, running the simulation, scrubbing the timeline, adjusting, running again, rinse and repeat until I had something that kinda worked. Keep in mind that the ball has to leave this box between a certain number of frames or my submission would not be accepted, so timing was crucial. When I finally had the plates lined up and the ball bouncing in a satisfying way I glanced over at the clock and saw it was well past midnight, so I called it a night.
Needless to say, I dreamed of shiny metallic balls.
 Hypnotic
On Sunday morning I woke up eager to get back to it. All the plates were now lined up, but I still needed a way to direct the ball to the hole at the end. I settled on just a simple metal track that the ball could run down to the exit. Simple enough, right? Well, my initial attempt saw me trying to use 3D bezier curves to build myself a curved track.
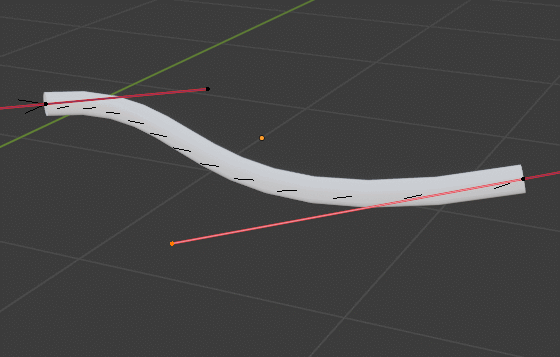
After some experimentation I discovered that this idea wasn't ideal because you cannot attach rigid bodies to these objects. That meant I had to continually duplicate them and convert them to meshes with every little change or adjustment I made. This proved to be quite time consuming, so I ditched the idea and went with some straight tracks instead.
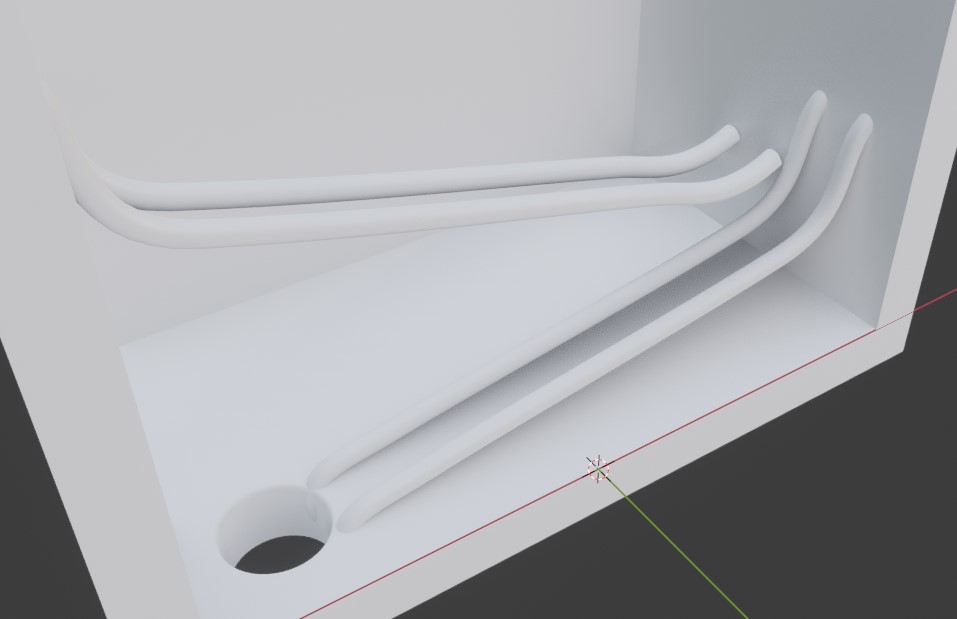
They were pretty boring on their own so I got the bright idea to add a set of chimes that the ball could run along on its way out. This would also fit in nicely with the musical theme I kinda had going for my entry. Well, it was around this time that I stumbled head first into another problem that again took me ages to solve.
I added my first chime (which is really just a cylinder, no modeling required), put it into place, attached a rigid body and ran the simulation. I was expecting it to just fall limply onto its side, but that's not what happened at all. It jiggled in place for a second then flew off and bounced around the inside of the box.
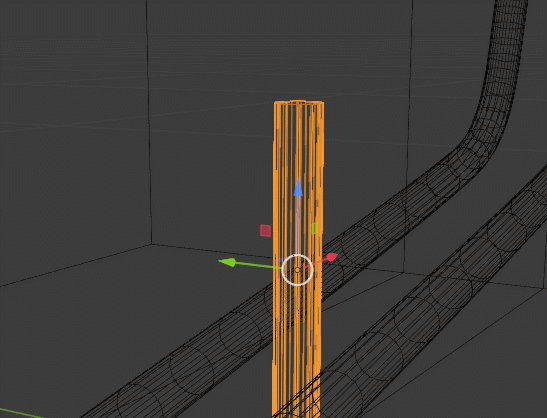
What the hell?! I deleted the cylinder and tried using a box. The same thing happened. What on earth was going on? The physics on the ball work just fine, why could I not get them to work on anything else? I spent ages poring over all the settings, comparing them to the ball. I tried placing the box in a different place, but observed similar stranger results.
After some fiddling I did notice that the box came to rest a certain distance above other physics objects. I took to Google and found a setting on the rigid body that adds a certain invisible margin around the object's collider. This had to be it! Excitedly, I set the margin to 0.0m and tried the simulation again. No change. At this point I was properly frustrated.

It wasn't until some time later that it occured to me to check the other objects in the scene. And there it was. The large box that contained everything had a margin of 0.04m, and the chimes are close enough to the bottom of the box that they were within its collider's bounding box.

Suddenly, everything clicked into place. I made the adjustments and it all worked as it should! Hallelujah!
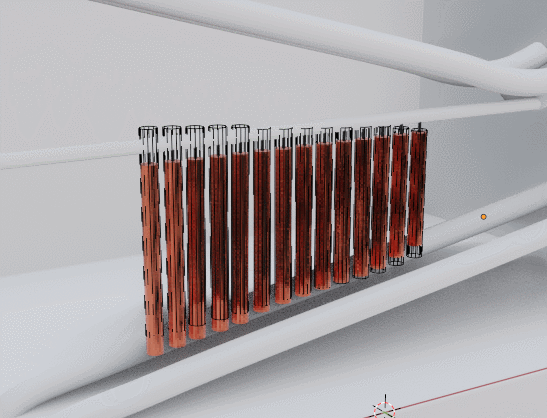
The last step was to get those chimes swinging nicely. I made a metal rod for them to hang from and figured out how to attach them with a rigid body constraint. This part came pretty easily. Once one chime had been set up it was only a matter of duplicating and resizing, then the physics engine did the rest!
Now that the ball was leaving the box on the correct frames, I baked the simuation so that it was set in stone and wouldn't change if I tweaked anything (which I ultimately did for aesthetic reasons). I created some emissive materials for the musical plates and then I went frame by frame through the animation to animate them turning on as the ball touched them.
And just like that, the final touches were in place! The only thing missing now was sound, so I rendered the entire 450 frames out at 40% resolution, which took about 40 mins.
By now it was Sunday evening, I had spent the entire day on this thing but I wasn't going to stop now, no sir, not while there was no sound in my 8x5 world (or however the box is, I don't know, I haven't measured it). The musical stuff was pretty simple, I used FL Studio to export a single note at a time and then lined them up to play when the ball hit a plate. I did a similar thing with the chimes - I used an orchestra VST with a recording of chimes being played. I only had to slow it down slightly to match the chimes in the animation.
I had to get a little more creative though when it came to adding sound to the ball itself. To get the sound of the ball bouncing off the plates I recorded myself tapping various metallic things in my office and then pitched them down slightly to my liking. I think the final sounds I went with were from an old whiskey flask.
To get the sound of the ball rolling on the track I placed a small glass bottle in a metal cooking tray and rolled that back and forth. It worked pretty well! I only had to pitch it down and then scale it to fit the animation (which took a few tries).
The animation had sound, and it felt so much more alive! There was only one thing left to do!
Oh boy, did I underestimate how long this part would take. I rendered out each frame at full resolution to separate PNG images, which, at its peak with all the lights from the plates bouncing around, took ~7 mins per frame. That means I was only rendering 7 - 8 frames per hours, and there were 450! Thankfully, the first and last 100 or so frames are mostly darkness and those were quite quick, but it still took my computer 4 nights to render this damn thing. Every morning I would return to see the progress, stop the rendering, do my work for the day and then resume rendering where it left off.
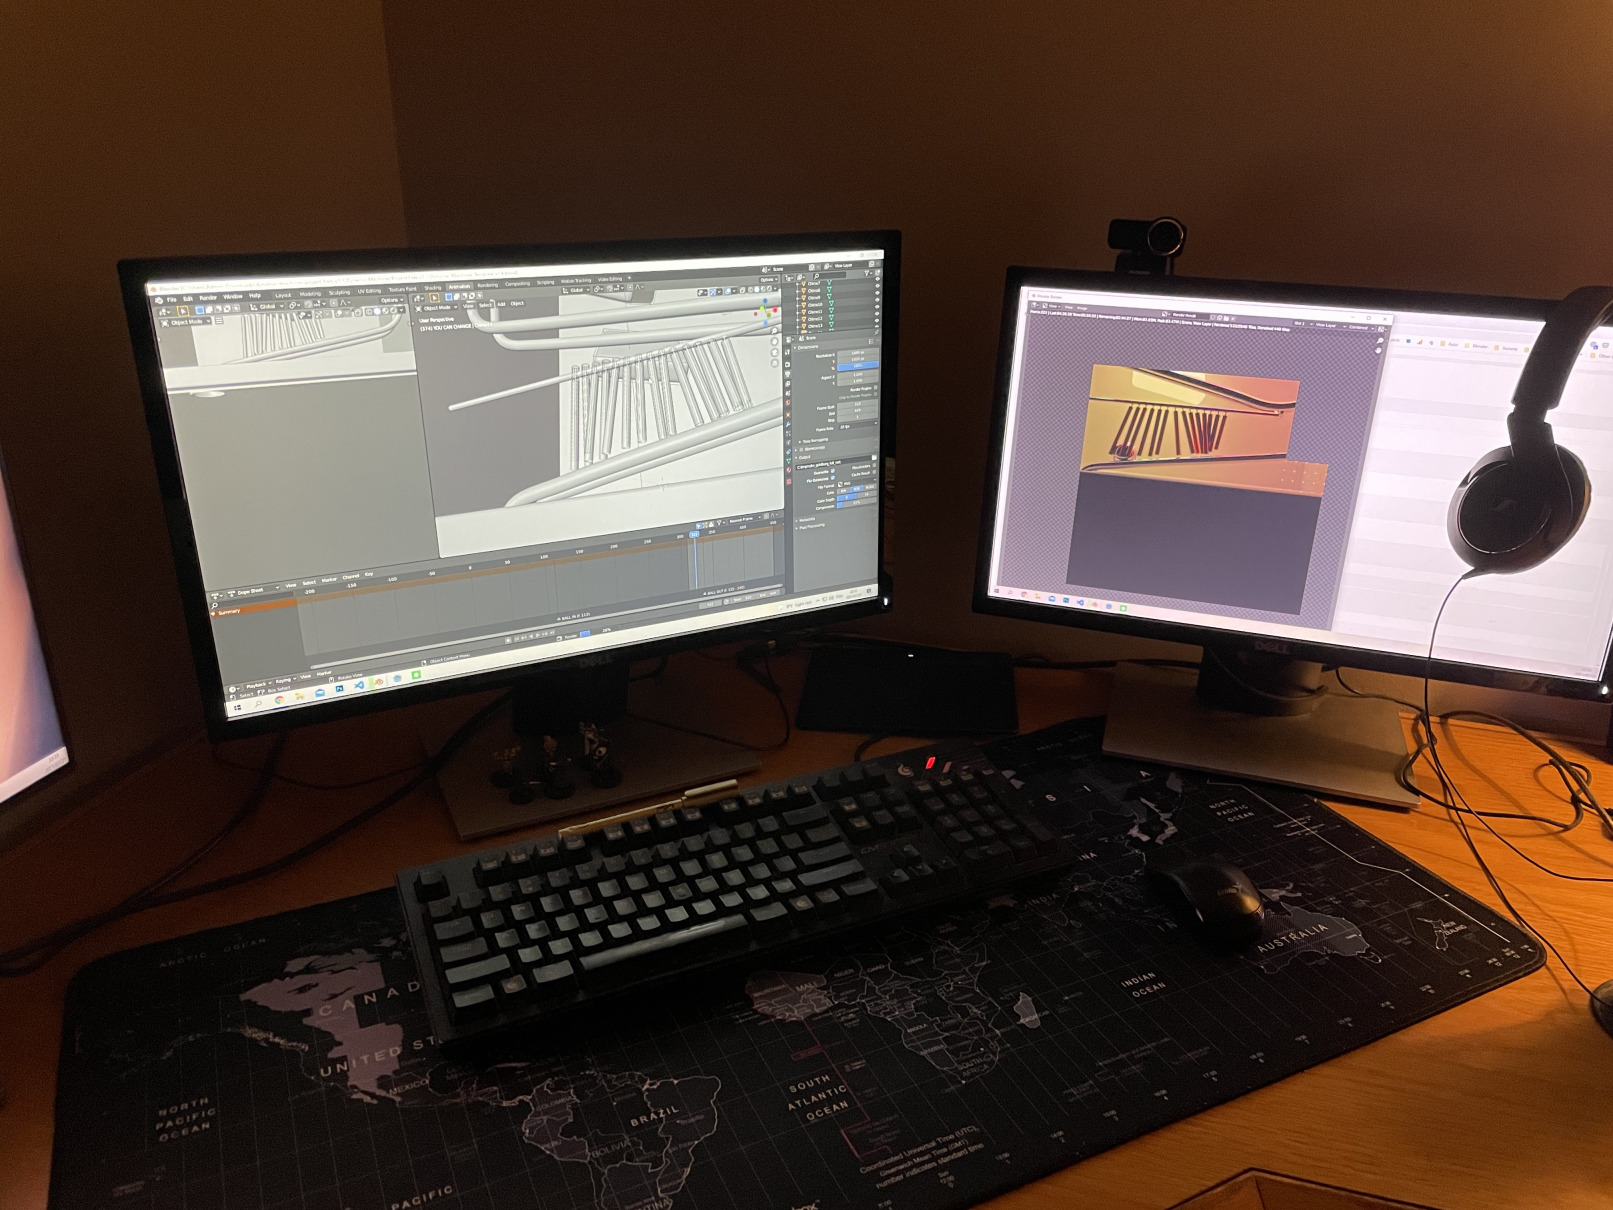 My poor computer chugging away late one night
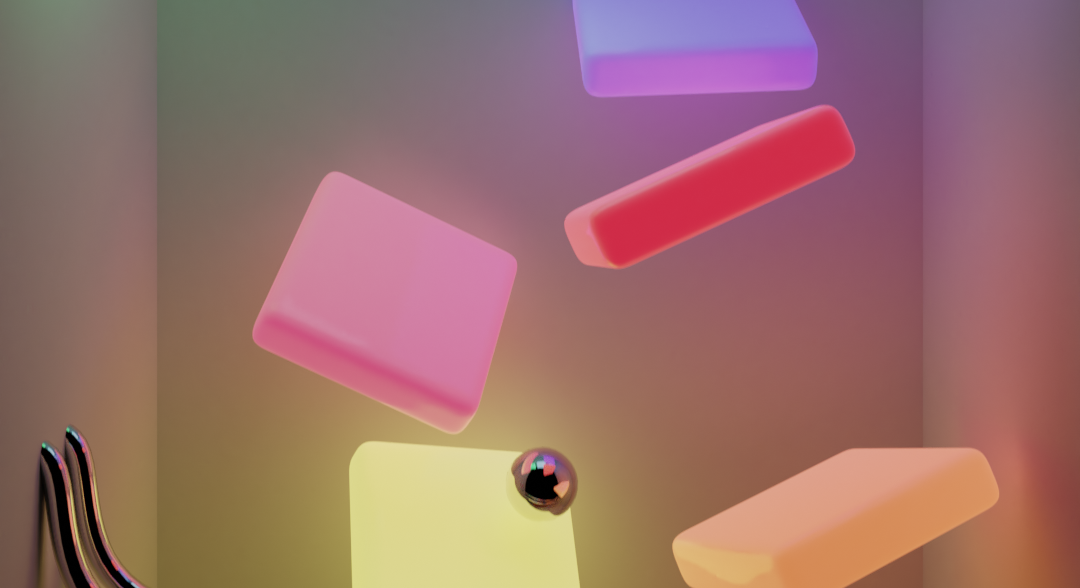
Here it is! Feast your eyes on this...
Isn't it beautiful? I don't expect it will place highly in the competition because it is quite simple but it was great to actually take part in one of these.
I'm thrilled to have finally sat down and spent the time becoming a little more acquainted with Blender and the rendering process. You can probably expect some more 3D work and rendering projects down the line; I definitely don't want to stop here!